
Guide to Preparing Artwork for Large Format Print
Oct 18, 2026
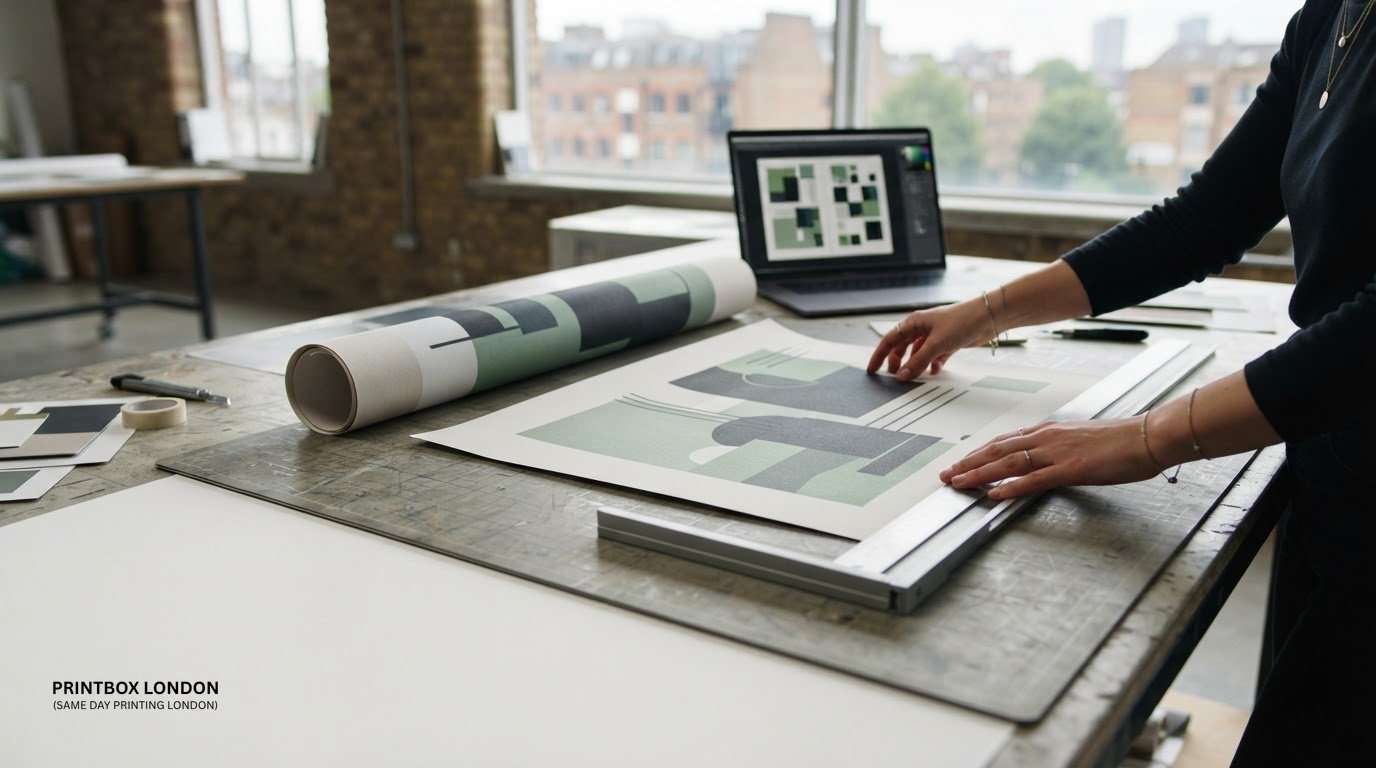
A design can look sharp on screen and still print soft, cropped or at the wrong size. Knowing how to prepare artwork for large format print starts with checking the finished dimensions and image quality, not just how the file looks on your laptop.
There is no single export setting for every job. Posters, banners and architectural plans have different requirements, particularly for scale, colour, edges and safe margins. This guide explains how to prepare a suitable file for Printbox London (Same Day Printing London), including choosing a file format and checking resolution, bleed and trim. PDF is the preferred format. JPG/JPEG, PNG, TIFF and ZIP files are also accepted.
You’ll learn how to set artwork to its intended finished size, keep text and details clear, and provide the information needed to process the job. Raster artwork has a target of 300 dpi at final size, but the right checks depend on the product. A careful review before sending can help your poster, banner or plan print as intended and avoid preventable file issues.
Key Takeaways
- Start with the product, finished dimensions and viewing distance so the artwork suits its intended use.
- Match image quality and colour settings to the final-size design.
- Check bleed and safe areas for the product, keeping important text and graphics clear of edges and finishing areas.
- Use a pre-flight check to catch sizing, orientation and layout issues before exporting.
- Include the product, size, quantity, sidedness, material, finishing and deadline with your job details.
Before preparing artwork for large format print, define the job
Start with three decisions: what you’re printing, its finished dimensions and where people will view it. Those details guide the artwork setup. A poster designed for close reading has different priorities from a banner viewed across a room or a technical plan that needs clear drawing detail. Large format artwork is simply a design prepared for a larger printed output; it does not mean every product uses the same layout or file settings. A wide-format printer is used for outputs such as posters, banners and plans.
Before opening a design file, note the job requirements:
- Purpose: What should the print help the viewer see or do?
- Product: Is it a poster, event banner or plan?
- Finished dimensions: What size should the printed piece be?
- Orientation: Should the layout be portrait, landscape or another shape?
- Viewing use: Will people read it up close, from a distance or as a working drawing?
Start with the finished product and dimensions
Choose the product first, then set the design canvas to its intended finished dimensions. This gives you a reliable frame for arranging text, images and drawing details. A0 measures 841 × 1189 mm and A1 measures 594 × 841 mm, but posters and banners can also use other suitable dimensions. Do not force a design into an A-series size if the job calls for a different shape.
Orientation matters too. A portrait poster and a wide event banner need different compositions, even if they share the same message. For plans, match the page dimensions and orientation to the intended output so the layout does not unexpectedly crop or distort important content. Agree the finished size before scaling or exporting the file.
Decide what the print needs to communicate
For a poster or banner, establish a clear order of importance. Make the main message prominent, keep supporting details easy to find, and avoid letting decorative elements compete with essential information. Consider where the print will be placed and how viewers will approach it. A display seen across an event space calls for a different balance of headline and detail from a poster read at close range.
Technical plans have a different purpose. Their priority is accurate, legible drawing content at the intended scale, not a promotional hierarchy. Check that labels, lines and symbols remain useful in the planned output. Print-ready artwork is a file prepared for its specified product, finished dimensions and use, not simply a design that looks good on screen.
Define the job before refining the design. Knowing the audience and setting helps you decide what deserves prominence, what can be secondary and whether the artwork suits the way people will use the print.
Set large format artwork dimensions, resolution and colour correctly
Once the product and finished size are clear, set up the document to match them. Then check the quality of photographs and other raster images and prepare the colour in CMYK. These settings work together: a correctly sized canvas will not improve a small, blurry image, and a sharp image will not prevent colour from looking different on paper than it does on screen.
Check image resolution at the intended print size
DPI means dots per inch. In artwork preparation, it describes how much image detail is available across each inch of the printed image. Printbox London (Same Day Printing London) uses 300 dpi at final size as the target for raster artwork. Treat this as guidance for raster images, not a blanket rule for every element in a file. The appropriate setup depends on the artwork and job.
A raster image is made from pixels. When a small image is stretched across a much larger area, those pixels cover more space, which can make edges look soft or blocky. Check the source image’s pixel dimensions and how large it will appear in the finished design. Do not judge print quality by an image’s displayed size on screen, and avoid relying on a small screenshot when the original photograph or export is available.
Raster image quality depends on both its pixel dimensions and the size at which it will be printed. A logo, line drawing or text created as vector artwork behaves differently. It is described by paths rather than a fixed grid of pixels, so it can be resized without the same pixelation. Keep logos and crisp graphic elements in vector form where possible, and assess photographs separately.
Set document dimensions and colour with care
Enter the finished width and height in the design file, and check the units before exporting. ISO A-series dimensions are A0 at 841 × 1189 mm, A1 at 594 × 841 mm, A2 at 420 × 594 mm, A3 at 297 × 420 mm and A4 at 210 × 297 mm. These are examples, not the only possible large format sizes. A technical drawing prepared for A0 plan printing, for instance, needs a canvas that reflects that intended output.
Prepare artwork in CMYK, the colour mode used for print. RGB is commonly used for screens, which produce colour differently, so the on-screen appearance cannot guarantee an exact printed match. Review key colours and contrast in the final layout, particularly where colour carries meaning in a plan or helps poster text stand out. Do not assume a specific colour profile or exact match without job-specific instructions.
A print-ready PDF is the preferred format for a straightforward handover. Check that the exported page size is correct and that images and vector elements appear as intended. For help with a particular file or product, send the finished dimensions and artwork to Printbox London (Same Day Printing London) using the printing contact details.
Match bleed, safe areas and layout to the large format product
Edges need different treatment depending on the product. A poster, banner and technical plan do not share one universal layout template. Before adding bleed or moving content away from the edge, identify how the finished piece will be trimmed or finished, and which details must remain visible.
Bleed is artwork that extends beyond the intended trim edge, allowing the design to reach the edge after trimming. The safe area is the space inside that edge where essential content, such as text, logos and key drawing notes, should sit. A 3 mm bleed is common, but it is not a universal requirement for every large format product. The right setup depends on the product and its finishing.
Posters and banners: protect edges and essential content
For a poster with a coloured background or image running to the edge, extending that artwork beyond the trim can help avoid a thin unprinted border if the cut varies slightly. Keep titles, logos and other important details comfortably inside the finished edge. The trim line is where the final piece is cut; the safe area keeps essential content clear of that boundary.
Banners need their own checks. If a design has edge-to-edge colour, consider how the artwork meets the finished edges. If the banner is hemmed or has other finishing, keep essential text and logos clear of areas that could be affected. Do not assume a poster’s bleed and margins will suit a banner. Set the layout around the intended banner dimensions and finishing requirements.
The viewing position matters for posters too. Keep the main message prominent and avoid placing small supporting details too close to the edge. Product-specific considerations matter more than applying the same margin to every design.
Plans and drawings: preserve scale and line detail
For plans, the priority is usually the drawing itself: its intended sheet size, scale, line detail, labels and notes. Confirm the final sheet dimensions and how the drawing is meant to be read. A decorative bleed may not be needed for a technical document with a plain page edge, so do not add one automatically.
Resizing a plan can change its intended scale. If a drawing prepared for one sheet size is enlarged or reduced to fit another, the stated scale may no longer represent the printed measurements. Avoid changing the page size casually. Check the drawing dimensions and scale together, and make sure important lines or annotations are not clipped at the page edge. This is especially useful when preparing CAD or engineering drawings for print.
Choose the checks that fit the job
When preparing artwork for large format print, match edge allowances to the finished product instead of relying on a single preset. Before export, check whether artwork reaches the trim, whether key content has enough clearance and whether finishing changes the usable area. Posters, banners and plans each call for a different balance of edge coverage, protection and accurate content.
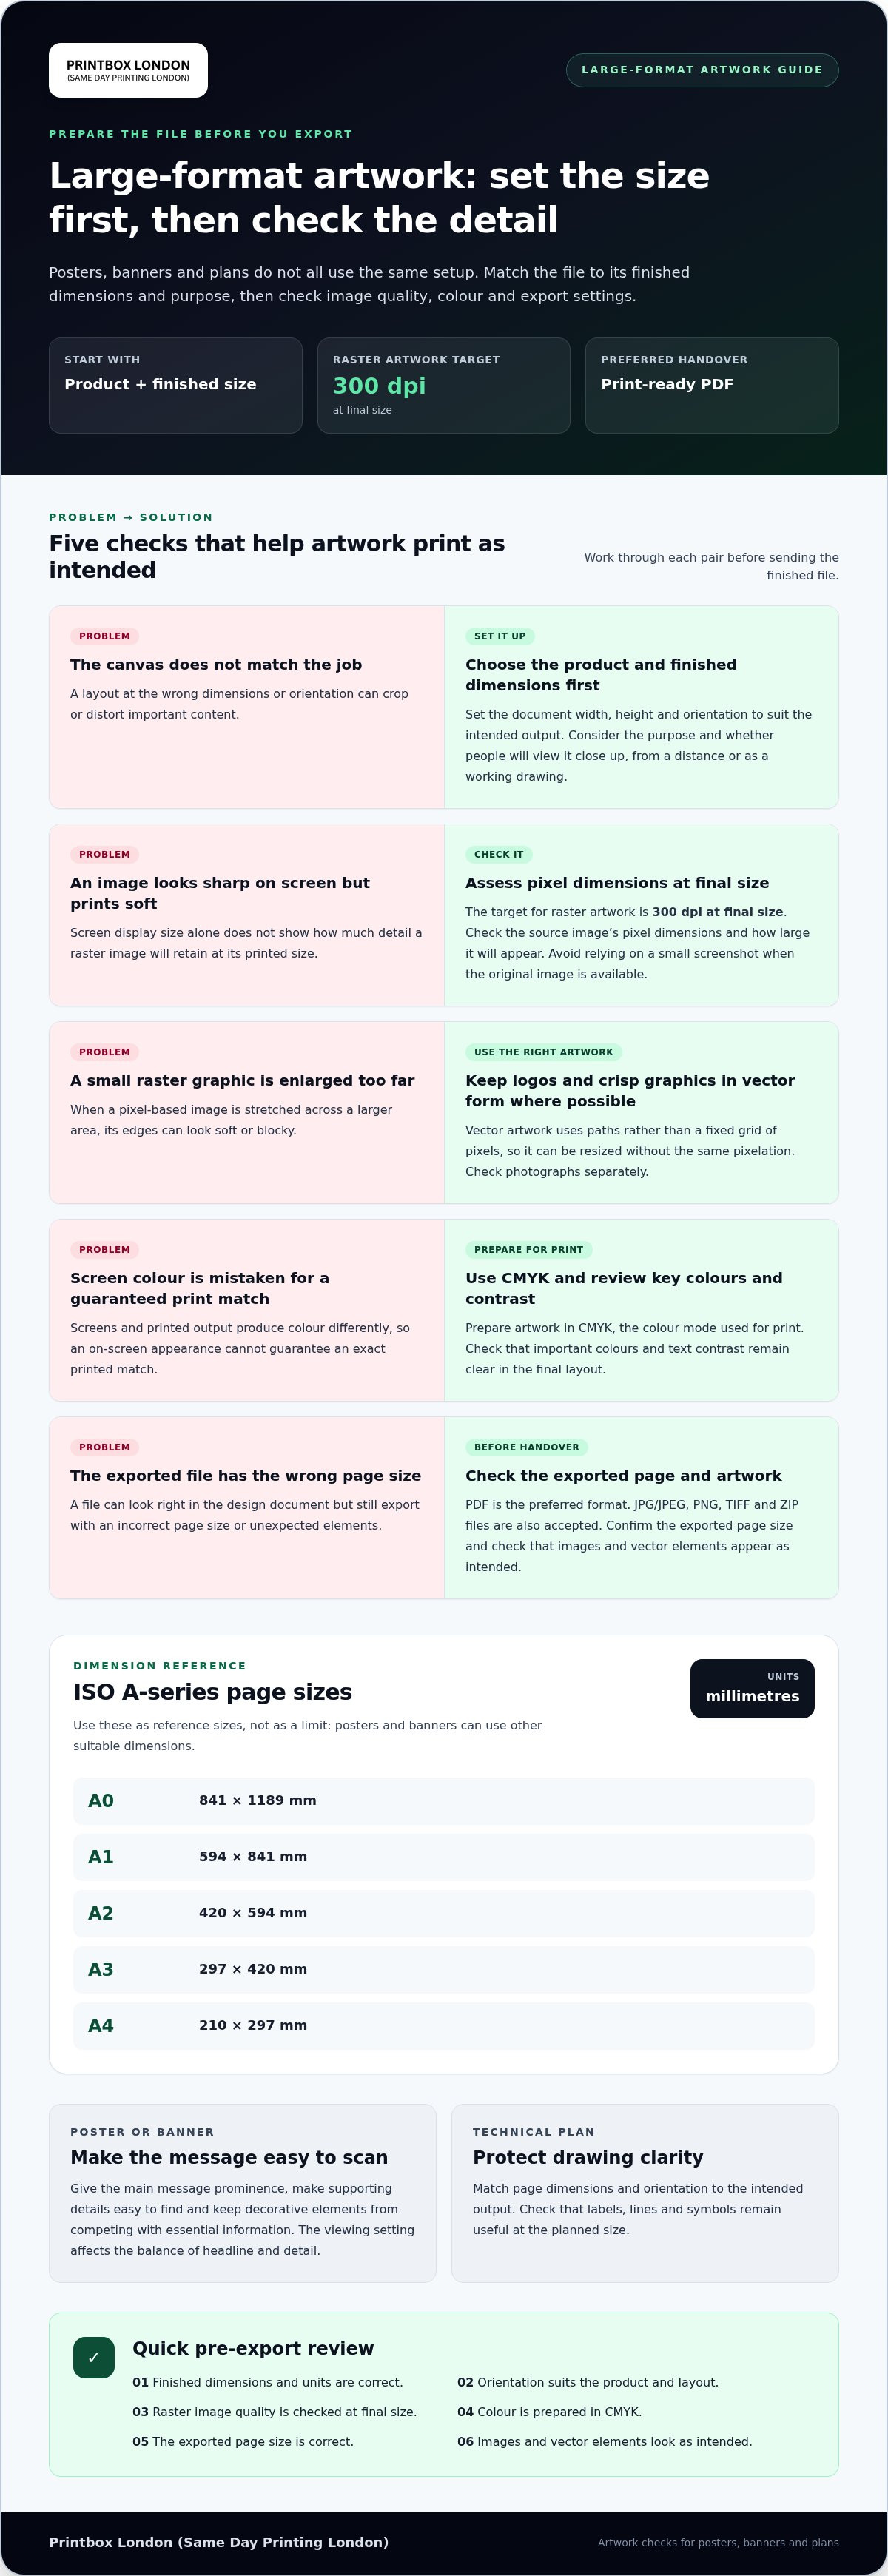
Run this pre-flight checklist before exporting large format artwork
A final review can catch problems that are easy to miss while designing. Work through these checks, then inspect the exported file. This helps you send artwork that matches the job details, although each file still needs to suit its intended print.
- Confirm the product and finished dimensions. Check that the file is set up for the agreed poster, banner or plan size. Verify the width, height and units, then make sure the page has not reverted to a default size during export.
- Check orientation and layout. Confirm that portrait or landscape orientation matches the intended output. Review the full page for unwanted blank space, cropped content, stretched elements or layout shifts.
- Inspect image quality. Review the original image files, not just how they look scaled down on screen. Check that photographs and other raster images are suitable at their placed size. Avoid low-resolution screenshots when the original artwork or image is available.
- Review colour mode and appearance. Check that the artwork is prepared in CMYK for print. Colours can look different on a monitor, so inspect important colour areas and contrast rather than treating the screen preview as an exact prediction.
- Check text and graphic details. Proofread for spelling, missing information and inconsistent wording. Make sure text, logos, labels and drawing details are visible, aligned and not clipped or hidden. View the design as a whole and close enough to inspect small details.
- Review safe margins and bleed where relevant. Confirm that essential content is clear of trim and finishing edges. If artwork runs to the edge, check that the file includes suitable bleed for the product. Do not add bleed automatically to every plan or design.
- Export and reopen the file. PDF is the preferred format for submitting artwork to Printbox London (Same Day Printing London). JPG/JPEG, PNG, TIFF and ZIP files are also accepted. Open the exported file and check that the page size, layout, images and text remain as intended. For multi-page files or artwork panels, review each one.
- Name the file clearly. Use a descriptive name that identifies the job and version, so it is easy to distinguish final artwork from earlier drafts. Avoid sending a screenshot if you can provide the original artwork file in a suitable format.
Review the design and export settings
Export settings vary between design tools and jobs, so do not assume one preset suits every file. Check that the chosen format preserves the artwork correctly. Text handling can also depend on the document and export method; inspect the PDF to make sure fonts display as intended rather than applying a blanket rule to every design.
Check the file as it will be received
A useful final file check covers the finished size, layout, image quality, colour, content and product-specific edge requirements, but it does not make every file automatically print-ready. Send the artwork alongside clear job details so it can be reviewed in context.
Send print-ready artwork and job details to Printbox London (Same Day Printing London)
A clear job brief connects your artwork to the print you need. Alongside the final file, state the product, quantity, finished size and production details. This gives Printbox London (Same Day Printing London) the information needed to understand your request.
Give the print shop a complete job brief
Include these details in your message or order information:
- Product type: Specify whether you need a poster, banner, architectural plan or another large format print.
- Finished size: Give the intended width and height, including units. For plans, include the sheet size and intended drawing scale.
- Quantity: State how many copies you need.
- Sidedness: Say whether the job is single-sided or double-sided, where relevant.
- Material and finishing: Describe your requested material and any finishing requirements that affect the finished piece.
- Deadline: Include the date and time you need the order, especially if it is urgent.
- Collection or delivery preference: State how you would like to receive the finished print.
Attach the final artwork, not an earlier draft, and identify the exact file or version to print. A useful file name might include the job name, dimensions and version, so it is clear which design is approved. If you are sending more than one file, explain which belongs to each product or size. Do not leave it unclear whether similar files are alternatives or separate items.
Keep the brief concise but specific. For a banner, name the finished dimensions, quantity, material or finish preference, required date and matching artwork file. For a technical plan, note the sheet size and intended scale. These details complement the file; they do not replace the artwork checks or make an unsuitable file print-ready.
Plan the next step for a London print job
Printbox London (Same Day Printing London) serves customers across Greater London from its physical shop at 52 West Green Road, South Tottenham, London N15 5NR. Customers in Central, North, East, South and West London, including Haringey, Hackney, Islington, Camden, Enfield, Barnet, Westminster, Newham, Redbridge and Waltham Forest, can use the Tottenham shop for collection. Include your collection preference in the job brief. Same-day local courier delivery across London may be available depending on postcode, job size, completion time and courier availability.
Same-day printing is available for selected quantities and specifications. Turnaround depends on the job and its production requirements, so include your deadline when you send the artwork. This is particularly useful for urgent or larger orders, where quantity, material, finishing, artwork readiness, stock and production workload can affect timing.
To prepare artwork for large format print, send the final file with the product type, dimensions, quantity, material, finishing and deadline. Contact Printbox London (Same Day Printing London) with those details to discuss your large format printing job.
Take your artwork from final file to finished print
Keep an organised master file alongside the version prepared for printing. Clear file names and a saved copy of the approved design can make future updates easier without rebuilding the artwork from scratch.
Knowing how to prepare artwork for large format print is a useful starting point. For each new job, consider what has changed in the design, where it will be used and whether the latest version still suits that purpose.
With a clear process in place, you can prepare your next print project with confidence and keep the artwork ready for its intended use.
Frequently Asked Questions
Can I send large format artwork as a ZIP file?
Yes, ZIP is an accepted format for sending artwork. Treat it as a container for the print file, not a replacement for the artwork itself: include the actual file inside the archive. If your order has several designs, separate or clearly identify each one so it is clear which belongs to which product. The print file still needs to suit the job.
Should I include crop marks in large format artwork?
Include crop marks only when they suit the file setup and product. Check the exported artwork at full-page view to make sure marks sit outside the design and do not look like part of a border or graphic. Some design tools add marks during export, so inspect the final file rather than assuming they are present or absent. Crop marks are a production aid, not a substitute for clear job instructions.
Can I use a Canva design for a large format print?
A Canva design can be used if its exported file is suitable for the intended print. For a design with several pages or panels, check that each one appears in the export and that pages are in the intended order. If you have made a last-minute change in Canva, export a fresh file afterwards; an older download may not include the approved revision.
Will my print look exactly like it does on my screen?
An exact match cannot be assumed from a screen preview. Avoid judging colour while your display is unusually bright or using a setting that changes its appearance automatically. Review the design in ordinary viewing conditions and flag any colour that is especially important to the job. A monitor preview is useful, but it cannot guarantee the final printed appearance.
Can a small image be enlarged for an A0 poster?
It may work as a small element, but it can look poor if it fills a large part of the poster. Consider how much space the image occupies in the layout, not only the overall poster size. If it looks visibly soft at its intended display size, use a larger original or redesign the layout so the image plays a smaller role.
What details should I send with artwork for a print quote?
For a quote covering several designs, break down the quantities by artwork and size rather than giving only one combined total. State whether each version is a separate design or whether the same artwork is being printed in different quantities. This makes the request easier to understand and helps prevent a quantity or version being matched to the wrong file.
Article by
Printbox London Team
The Printbox London (Same Day Printing London) team provides practical printing guidance based on real customer requirements and day-to-day print production. We serve customers across Greater London from our Tottenham print shop, with same-day printing available for many products depending on quantity, specification, artwork and production capacity.